Creating a DIY crossbody bag can elevate your style without breaking the bank. Making your own bag offers countless customization options. In this article, we will guide you through the process of crafting a stunning DIY crossbody bag. Let’s dive into the exciting world of bag-making.
Choosing Materials for Your DIY Crossbody Bag
Choosing Your Materials
To start your DIY crossbody bag, select durable materials for the exterior. Opt for fabrics like canvas or faux leather, which provide both durability and style. These choices not only enhance the bag’s appearance but also ensure it can handle daily use. For the interior, use a softer fabric such as cotton. This will add a pleasant touch to the bag’s lining and make it more comfortable to use. Combining these materials will give your bag both resilience and a polished look.
Selecting the Right Hardware
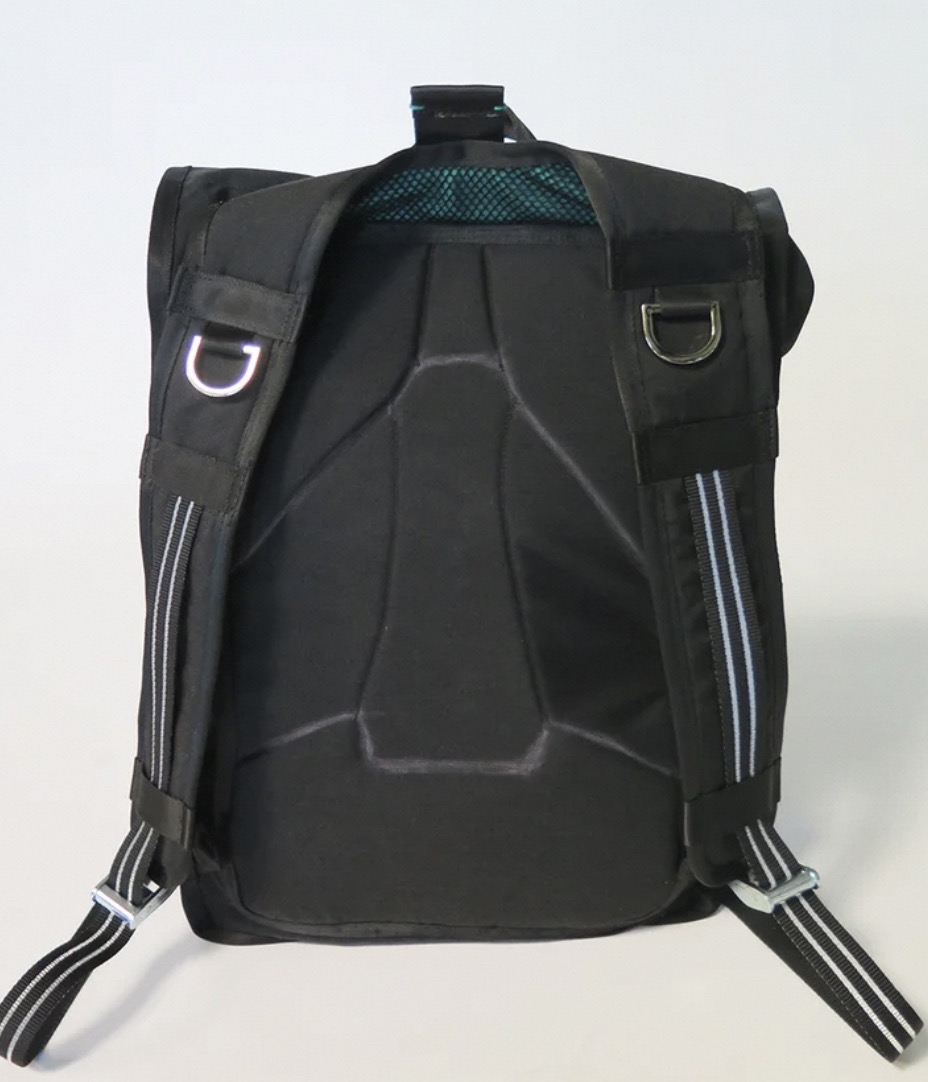
The hardware is a critical component of your crossbody bag, so choose it carefully. You will need a sturdy strap connector to ensure the strap attaches securely. Additionally, include a magnetic snap or zipper for easy access and safety. These small details are vital for the bag’s functionality and longevity. Visit a local craft store to find high-quality hardware that matches your chosen materials. By carefully selecting each component, you’ll enhance the overall durability and usability of your DIY crossbody bag.
Designing Your DIY Crossbody Bag
Cutting Fabric for Your DIY Crossbody Bag
Cutting Your Fabric
Once your design is finalized, start cutting your fabric for the DIY crossbody bag. Measure each piece precisely using a ruler or measuring tape. Write down the dimensions to ensure consistency and accuracy. This careful measurement helps you achieve a polished final product. Accuracy in cutting is essential because it affects the overall look and fit of your bag. Taking time to measure correctly now will save you from adjustments later.
Preparing for Assembly
Use sharp fabric scissors to cut your pieces, ensuring clean and precise edges. Be mindful of the fabric grain to avoid any distortion. Align your pieces correctly, so they fit together seamlessly during sewing. Properly prepared pieces will make the sewing process smoother and more efficient. By focusing on these details, you set yourself up for a successful project, leading to a well-crafted and functional crossbody bag.
Sewing Your DIY Crossbody Bag
Sewing the Exterior
With all pieces cut, begin by sewing the exterior of your DIY crossbody bag. Start by pinning the exterior pieces together to secure them. Then, sew along the edges carefully, making sure your seams are straight. Leave allowances for hems to ensure a neat finish. This process demands patience and precision, as even small mistakes can affect the final look. Take your time to adjust and correct any issues as you go along.
Adding the Lining
After completing the exterior, turn your attention to the lining. Attach the lining to the exterior bag, ensuring you tuck in any raw edges. Reinforce stress areas, such as strap connectors, to enhance the durability of your bag. This step is essential for achieving a clean and professional finish. By paying close attention to these details, you ensure that your DIY crossbody bag looks polished and will hold up well with use.
Adding Final Touches to Your DIY Crossbody Bag
Adding Hardware
After finishing the sewing, it’s time to add the final touches to your DIY crossbody bag. Start by attaching any hardware, such as strap connectors or snaps. Align everything properly and secure each component carefully. This step not only improves the bag’s practicality but also enhances its overall aesthetics. Ensure each piece is firmly attached to guarantee durability and functionality. A well-installed hardware will contribute significantly to the bag’s final look and usability.
Personalizing with Embellishments
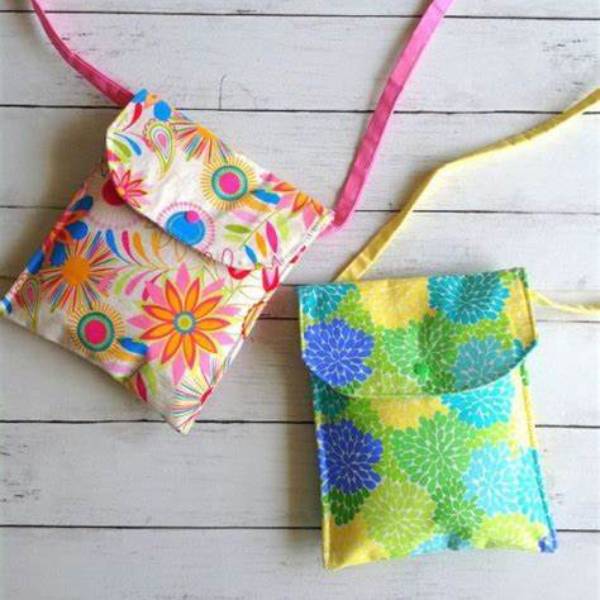
Next, consider adding embellishments to reflect your personal style. You might choose to add patches, embroidery, or fabric paint. Each embellishment allows you to make your bag truly unique. By incorporating these decorative elements, you infuse your personality into the design. Final touches like these transform your DIY crossbody bag from a simple accessory into a special, one-of-a-kind creation. Make sure every addition complements the overall design and enhances the bag’s appeal.
Styling Your DIY Crossbody Bag
Experimenting with Outfits
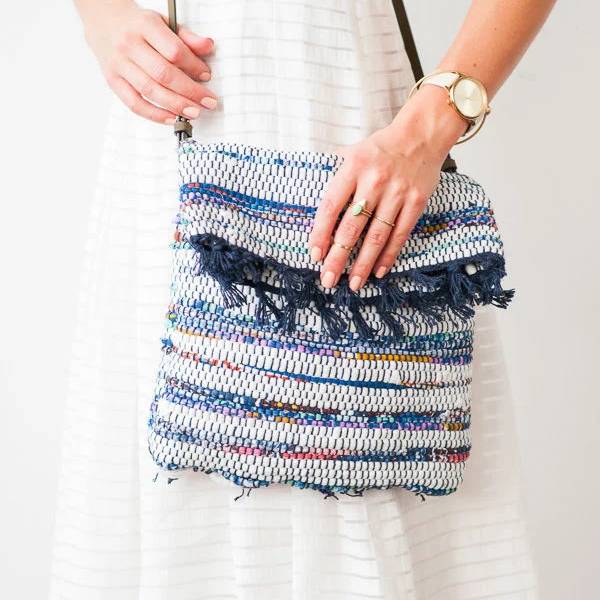
Now that your DIY crossbody bag is complete, experiment with different outfits to find the perfect match. The versatility of a crossbody bag makes it suitable for both casual and formal wear. Try pairing your bag with various outfits to see how it complements each look. Whether you choose jeans and a t-shirt or a tailored suit, your new accessory can enhance your overall style. This experimentation allows you to discover the best ways to incorporate the bag into your wardrobe. Experiment with different outfits to find the perfect match for your crossbody bag for travel, as its versatility makes it suitable for both casual and formal wear.
Elevating Your Look
Use your crossbody bag to elevate your outfits and add a personal touch. Play with different color combinations to match or contrast with your clothing. Experimenting with how the bag interacts with your wardrobe helps you create unique and stylish looks. Let your DIY crossbody bag become a signature part of your style by incorporating it into various ensembles. By doing so, you not only showcase your creation but also enhance your fashion sense. Experiment with different tote bags sewing patterns to create unique crossbody bags that elevate your outfits and showcase your personal style.
Caring for Your DIY Crossbody Bag
After crafting your DIY crossbody bag, caring for it is essential. Regular cleaning keeps your bag looking fresh. If you used fabric, check the washing instructions. Most fabric bags are machine washable, but some may require hand washing.
Store your bag in a cool, dry place. Avoid exposure to direct sunlight to prevent fading. These small steps will prolong the life of your beautifully crafted accessory. Enjoy your DIY creation for years to come. Make your own backpack and ensure its longevity by storing it in a cool, dry place and avoiding direct sunlight to prevent fading.
In conclusion, making a DIY crossbody bag is a rewarding experience. It allows for self-expression through style and functionality. Follow these steps and unleash your creativity. You will end up with a stylish accessory tailored to your taste. Start crafting your DIY crossbody bag today and celebrate your unique fashion sense!